Workflow · Breakthrough Workflows
Curious Refuge starts with an actor, then rebuilds the world around the performance
A hybrid filmmaking test gives Seedance a filmed movement and a designed starting frame. The results also show where gestures and props can drift.
Reporting updated Sep 23, 2026
KEY TAKEAWAYS
Film the movement you want before asking AI to change the setting.
The starting frame and motion reference do different jobs.
Check the finished action carefully: a convincing setting can hide a changed gesture or prop.
Start With the Parts You Want to Direct
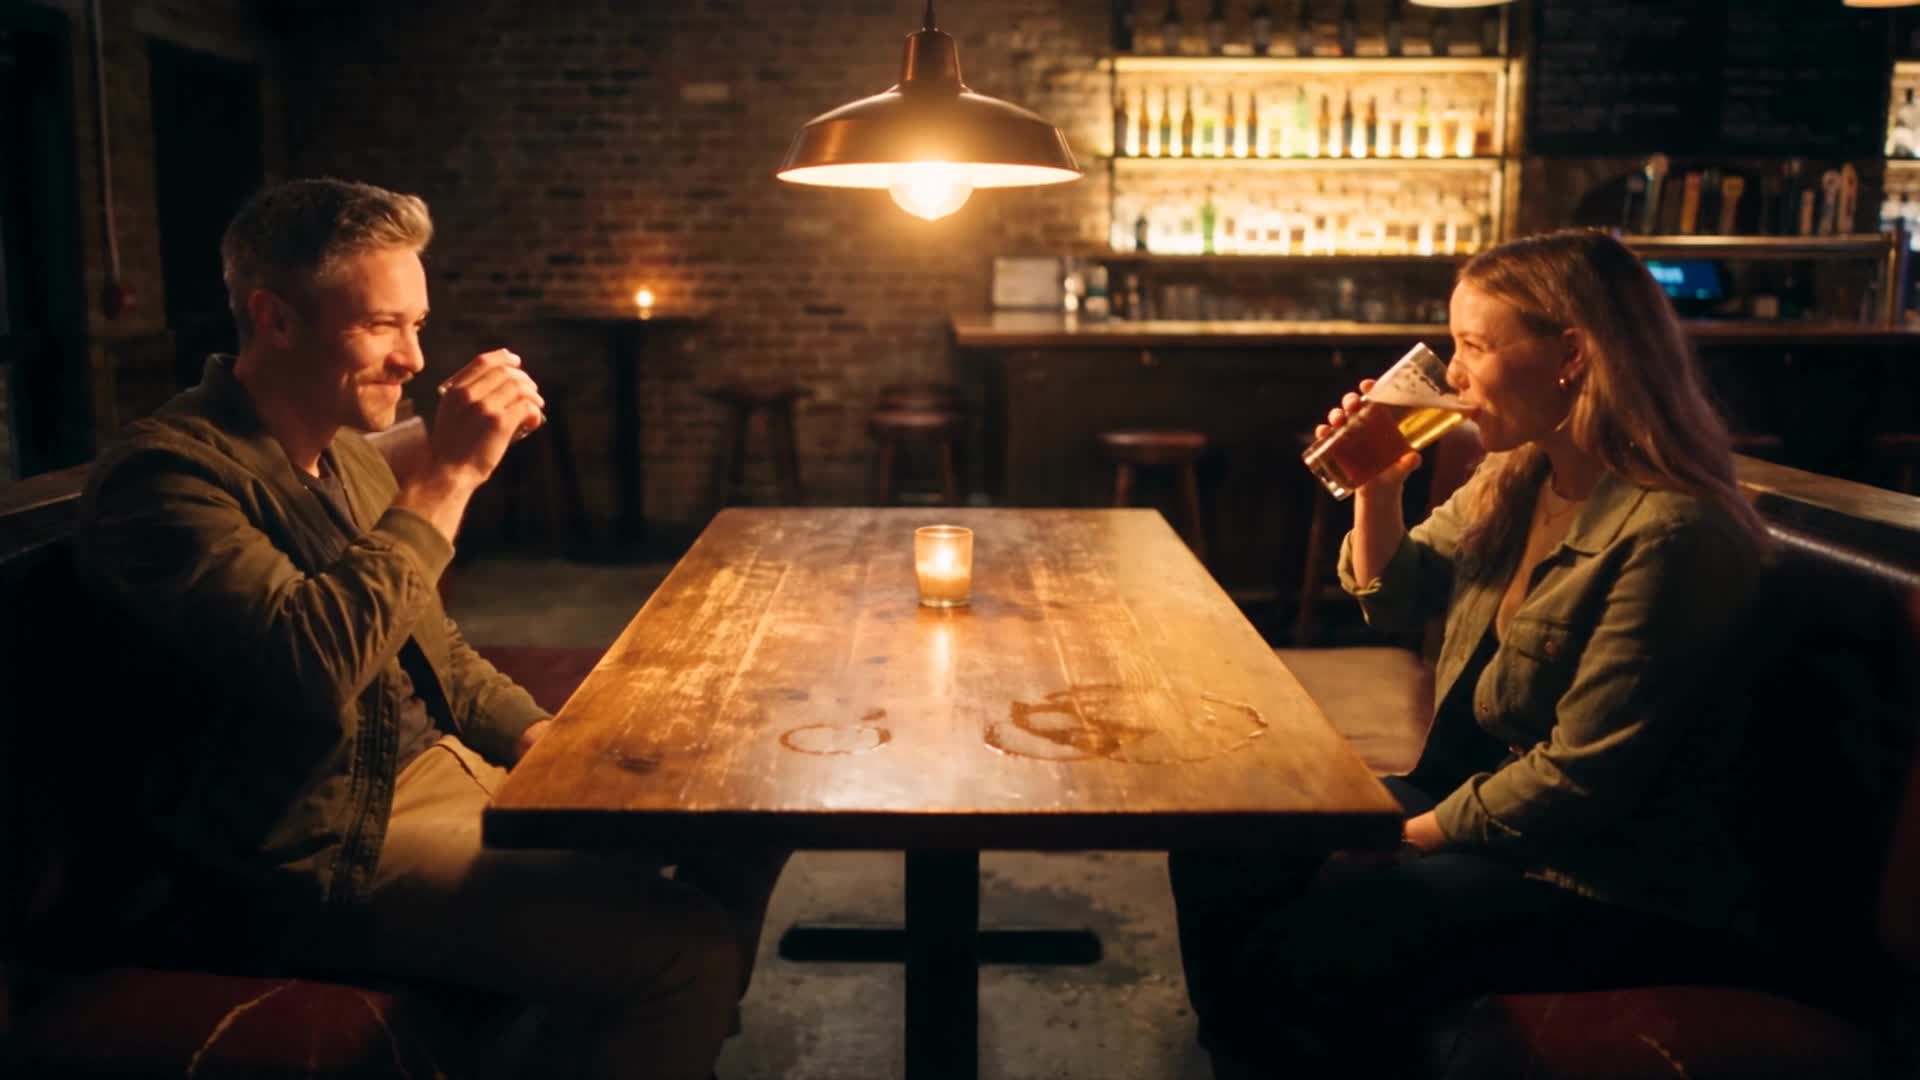
Curious Refuge’s September 22 tutorial starts with actors filmed in a simple gray-box setting. The team then redesigns a first frame with image tools and uses Seedance 2.5 to generate a transformed shot. It is a way to give the model a performance to follow while changing the surroundings.
The useful question for a filmmaker is which decisions must survive. Before testing a shot, write those down: where the actor looks, when a hand reaches the prop, and how the camera ends its move. That gives you something more specific to judge than whether the new background looks expensive.
Give Appearance and Movement Separate References
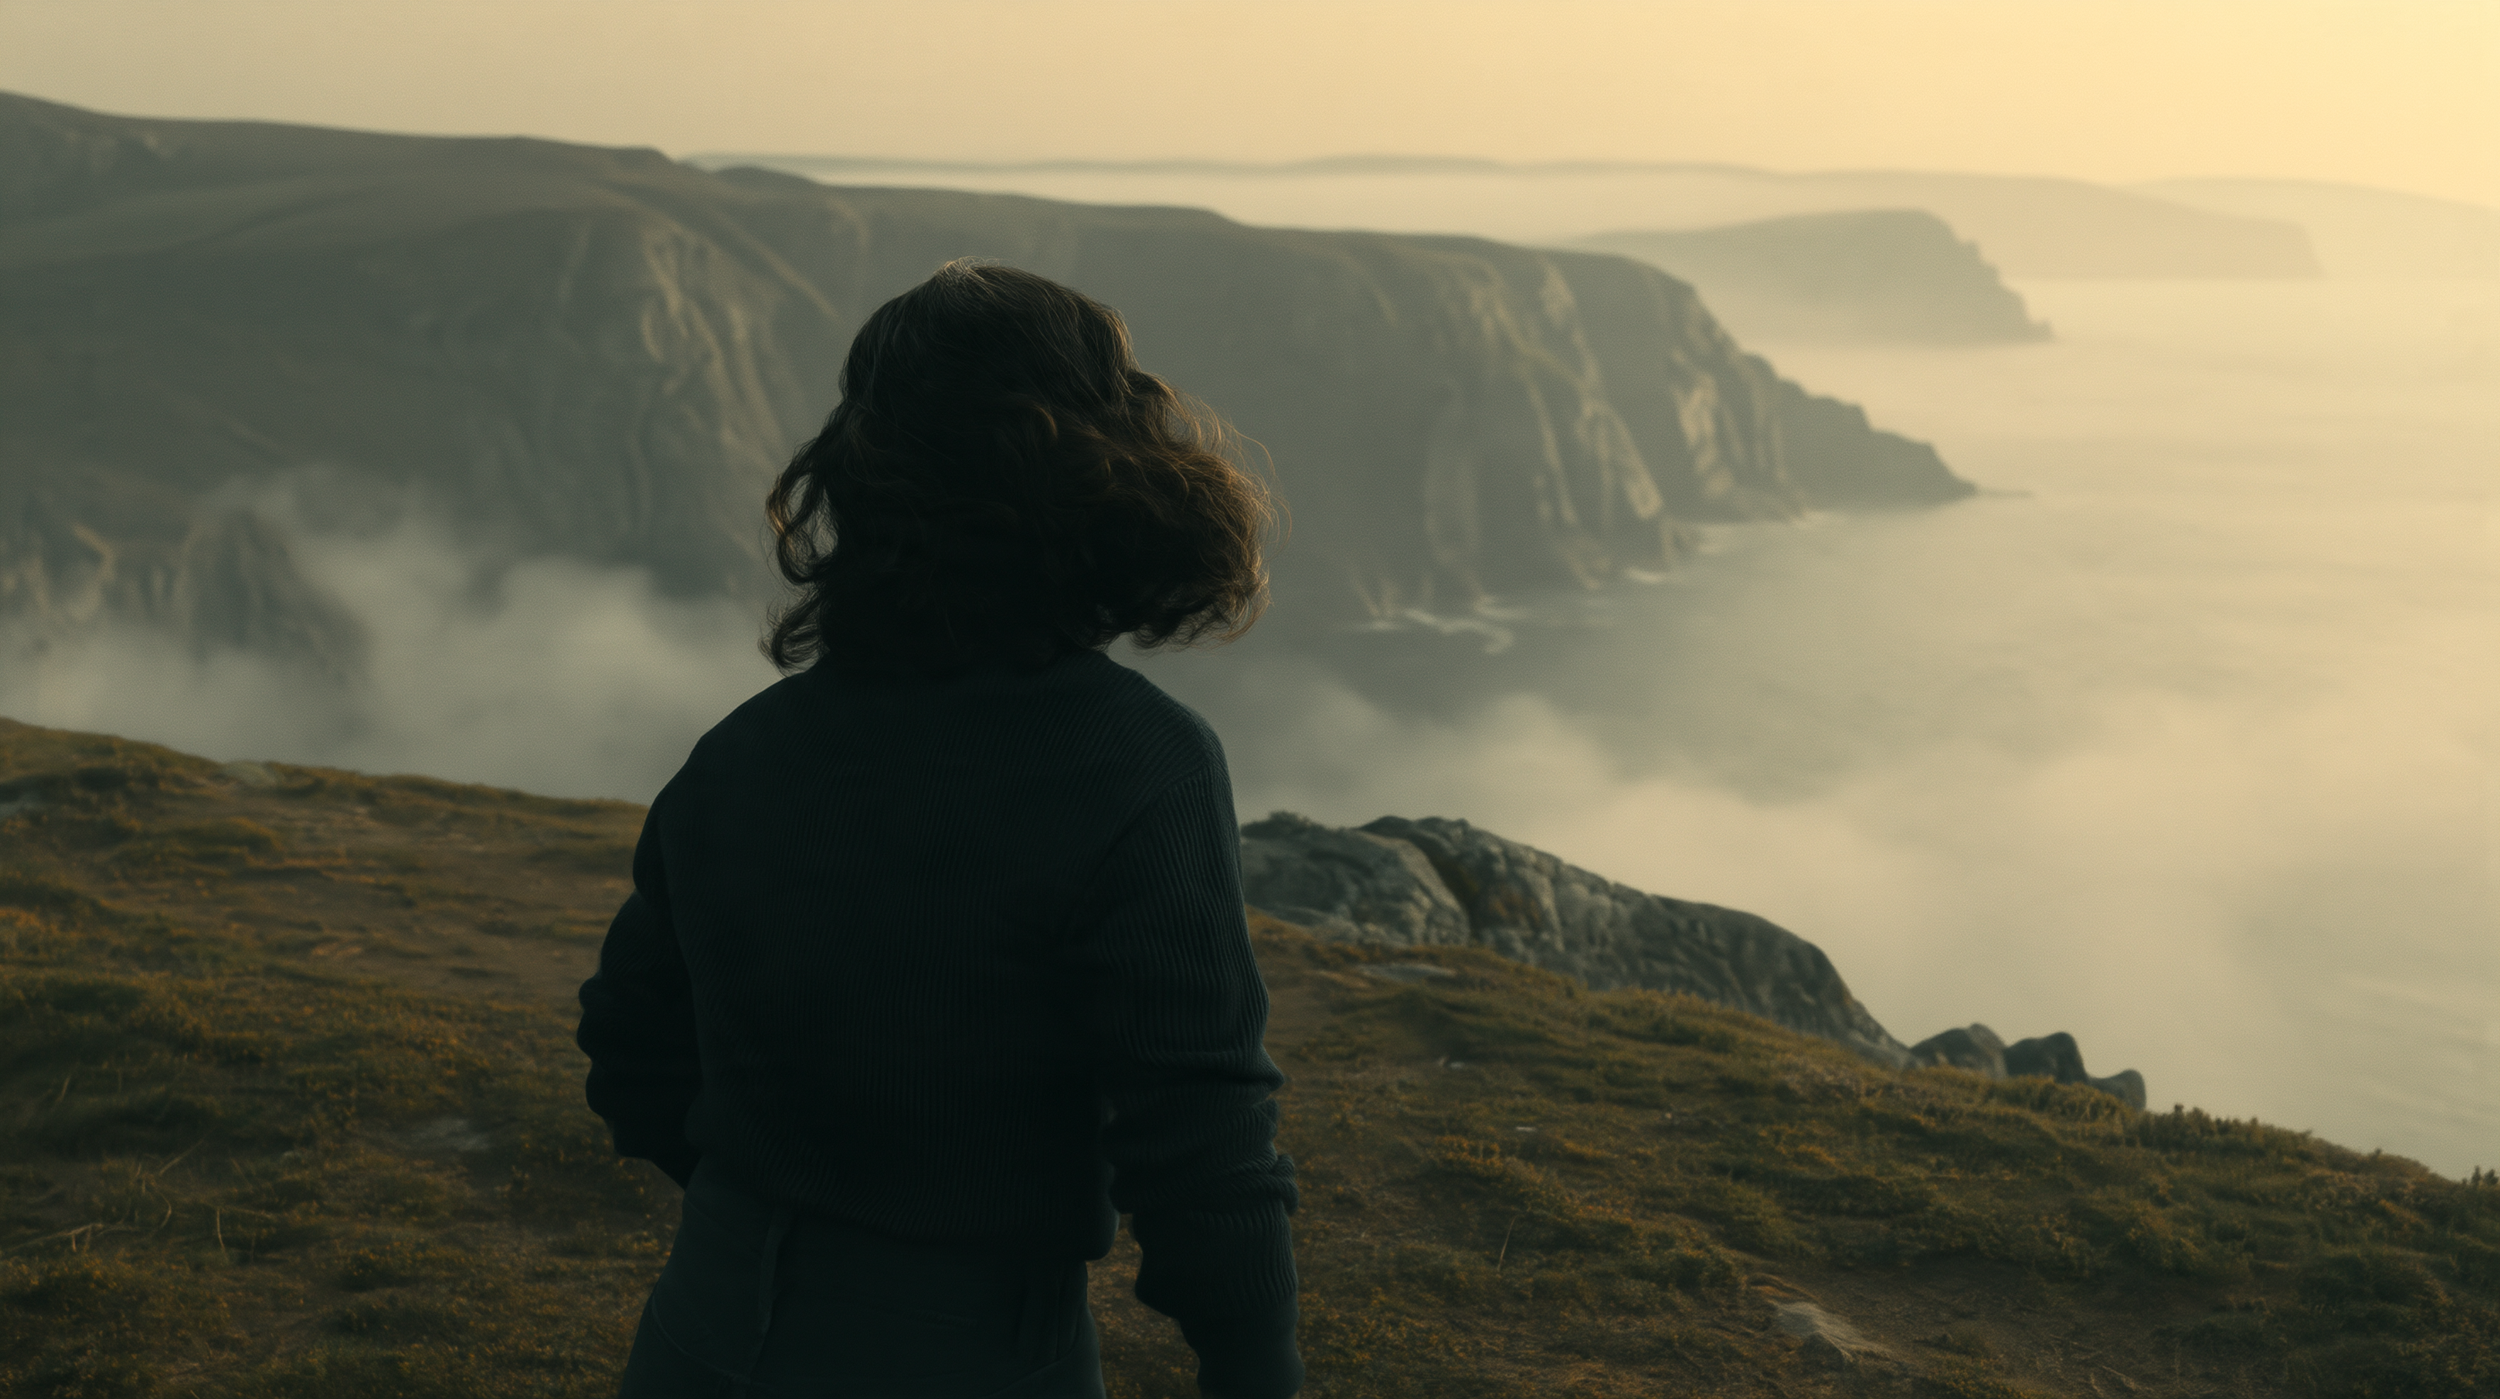
For a cliffside test, the team exports the first frame and uses GPT Image 2.5 with a visual reference to establish the new look. It then tries both the original footage and a depth-map version as motion guidance in Seedance. The tutorial makes the depth map optional.
A practical comparison should keep the target look steady while changing the motion reference. If you change both at once, you will have a harder time identifying which choice helped. Keep the original performance beside the outputs and review the beginning, middle and end of the action rather than choosing from the prettiest still.
Why the Depth Test Is Worth Isolating
Curious Refuge had also tested depth-guided motion transfer in an earlier tutorial. That comparison used ordinary footage, grayscale depth, skeleton overlays and colorized masks; the team reported its best overall results with the simpler grayscale depth reference. That is its experiment, not a rule for every scene or model version.
The distinction matters when planning a shoot. A depth map describes spatial relationships, while the original clip carries visible costume, lighting and texture as well. For your test, decide whether those visible details are useful guidance or details you intend to replace. Compare the two approaches before adding another processing step to every shot.
The Failures Are Part of the Lesson
The newer tutorial reports a missing hat, a coffee cup returning after it was meant to become a wine glass, and variations in the actor’s movement. These are demonstrated limitations in the team’s account, not proof of exact performance transfer.
That calls for an action review before a beauty review. Follow the hands and the object through the whole shot. Then check eyelines and the timing of gestures against the source. A change that seems minor in isolation can alter the meaning of a reaction when the shot is cut against another actor.
What Creators Can Take Away
VEYR would start with one short, controlled shot and a written list of details that must remain. Keep the live-action original, the approved starting frame and the selected output together so revisions can be compared. Record where the result diverges rather than treating every difference as an improvement.
This is a creator-reported workflow, not a VEYR production test. The next useful evidence is how well it holds across an edited scene: matching action, repeated props and a performance that still says what the actor intended.